

Build and Deploy a Password Generator on Cloudfare Pages for FREE in 3 MINUTES
Learn how to build a password generator that churns out secure passwords and deploy on Cloudfare for FREE in just 3 Minutes


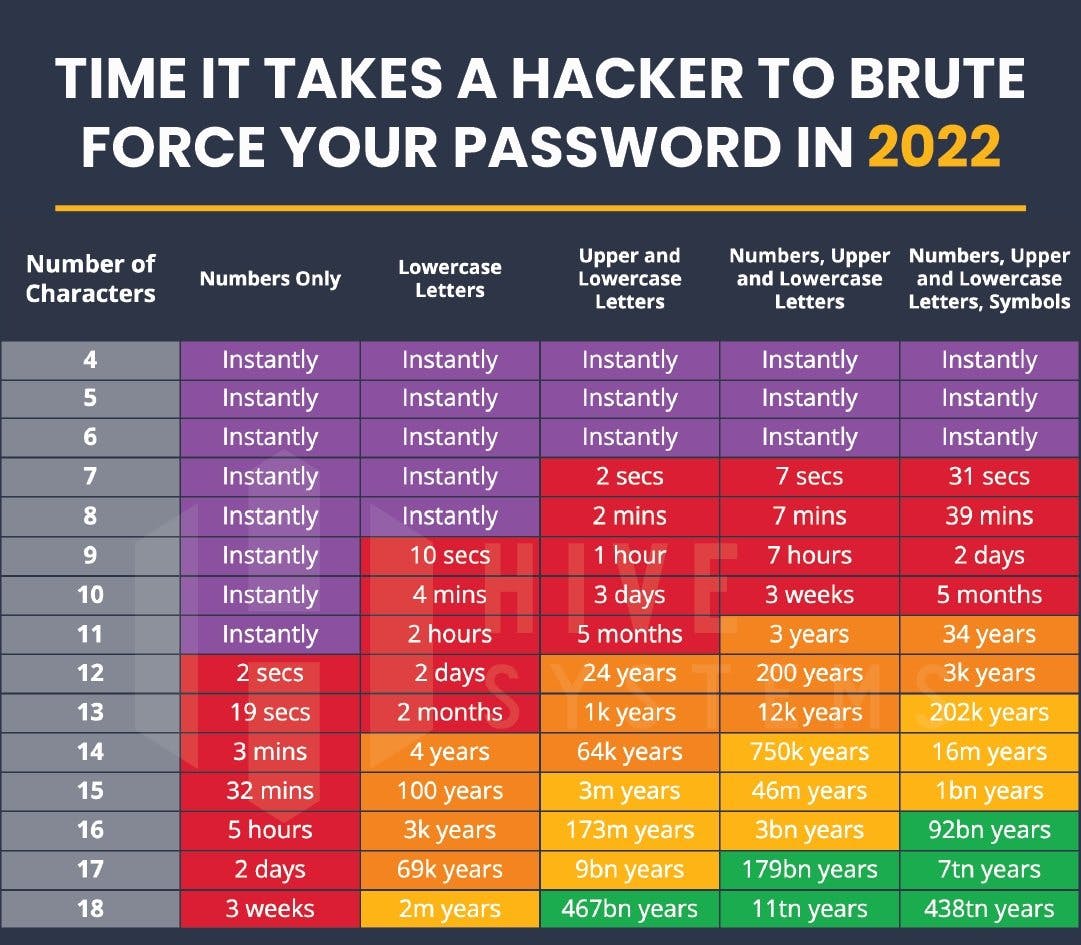
While we await the passwordless future promised by Big Tech, we still have a great deal of security decisions to make regarding using secure passwords. Below is a chart of how the number of words, numbers or symbols influence the complexity of a password.
To create a secure passwords these days, there is Google Chrome password generator extension but due to security reasons, it is unsafe because hackers can access and steal the stored passwords from your browser.
This leaves us with one last option - use a simple random password generator that you can run and use locally on your smartphone or deploy on Google cloud, which we are going to learn how to do that here in this article. The App is built with HTML, CSS, Javascript and Bootstrap.
You can download the source code for the Random Password Generator App here on - Github
Don't forget to star the repo and fork the repo to add new features.
Core Requirements:
- A simple interface - Button and a input field period! No funny checkboxes and sliders.
- Copy functionality.
- Fully responsive design with Bootstrap
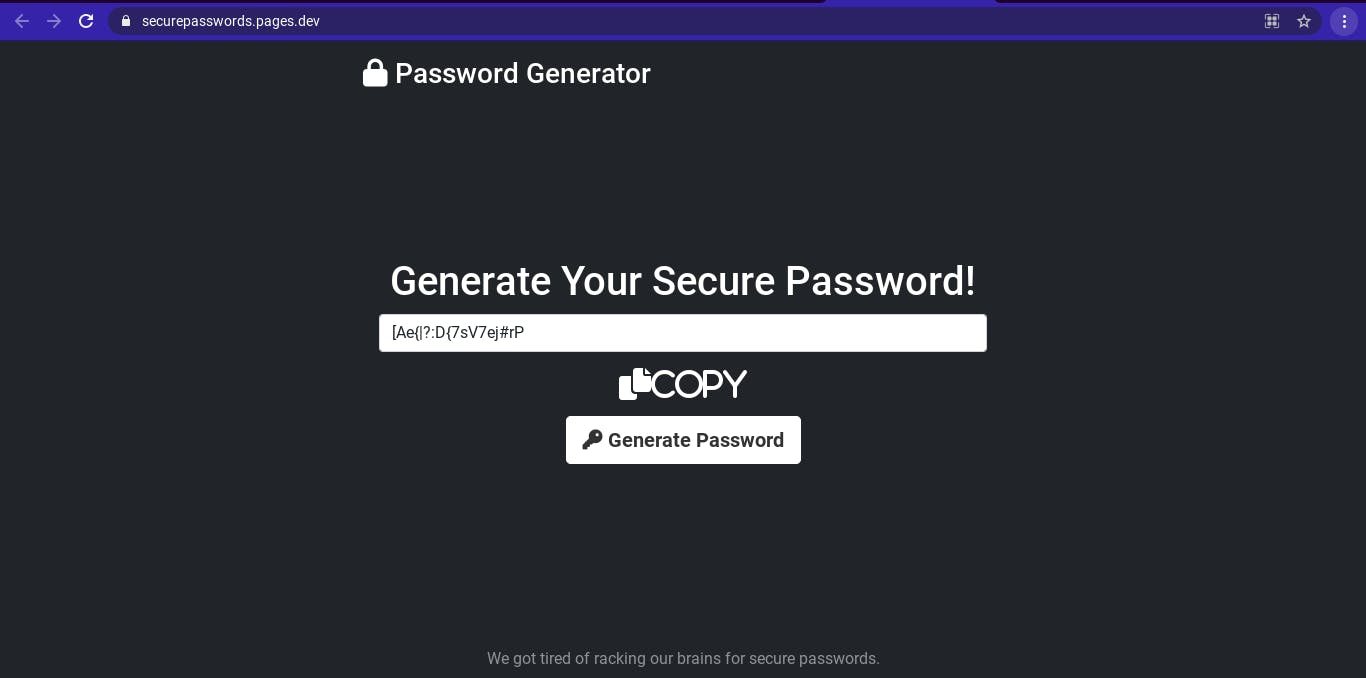
First create a file named "index.html" with the following code:
Password Generator
<main class="px-3"> <h1>Generate Your Secure Password!</h1> <p class="lead"> <input type="text" class="form-control" name="gen-password" placeholder="Password shows here..."> </p> <span class="copied fa fa-check fa-2x" style="color:#32CD32" onclick="copy()">Copied</span> <span class="copy fa fa-copy fa-2x" onclick="copy()">Copy</span>
</p> <p class="lead"> <button class="btn btn-lg btn-secondary fw-bold border-white"> <span class="fa fa-key"></span> Generate Password </button>

</main>
<footer class="mt-auto text-white-50"> <p>We got tired of racking our brains for secure passwords.</p> <a href=""><span class="fa fa-github fa-2x" style="color:#FFFFFF"></span></a> </footer></div>
In the same file, we are going to add a script tag at the bottom of the page to add the javascript code that will generate the passwords:
<script> const display = document.querySelector("input"), button = document.querySelector("button"), copyBtn = document.querySelector("span.copy"), copyActive = document.querySelector("span.copied"); let chars = "abcdefghijklmnopqrstuvwxyzABCDEFGHIJKLMNOPQRSTUVWXYZ0123456789!@#$%^&*()_+~`|}{[]:;?><,./-="; button.onclick = ()=>{ let i, randomPassword = ""; copyBtn.style.display = "block"; copyActive.style.display = "none"; for (i = 0; i < 18; i++) { randomPassword = randomPassword + chars.charAt( Math.floor(Math.random() * chars.length) ); } display.value = randomPassword; } function copy(){ copyBtn.style.display = "none"; copyActive.style.display = "block"; display.select(); document.execCommand("copy"); }
</script>
What the code inside the script does is in two folds; 1) Firstly, a random password not less than 18 characters is generated every time the "Generate Password" button is clicked and displayed in the input field using the alloted characters and symbols as in the variable "char". 2) Secondly, a copy function enables the user to easily click on an icon and the password is automatically copied with a generated "Copied" message displayed right below the input field.
Deploying on Cloudfare Pages
- Visit Cloudfare Pages - pages.cloudflare.com
- Create an account or login to your existing account.
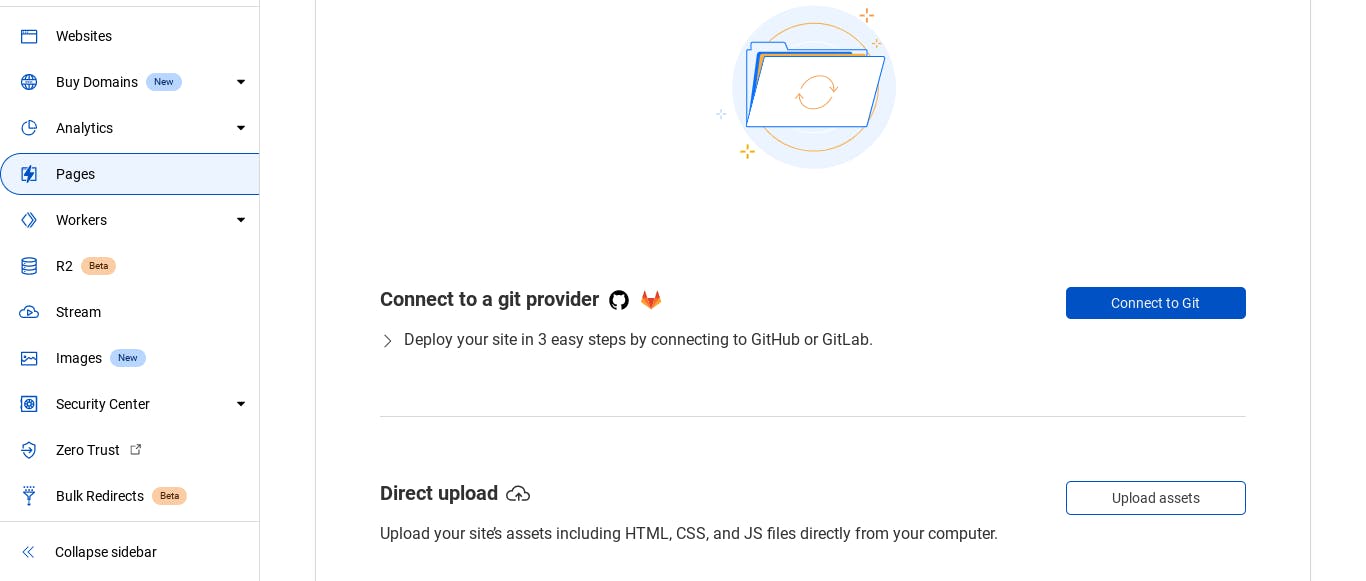
- On the dashboard, on your left hand side, click on the "Pages" tab,
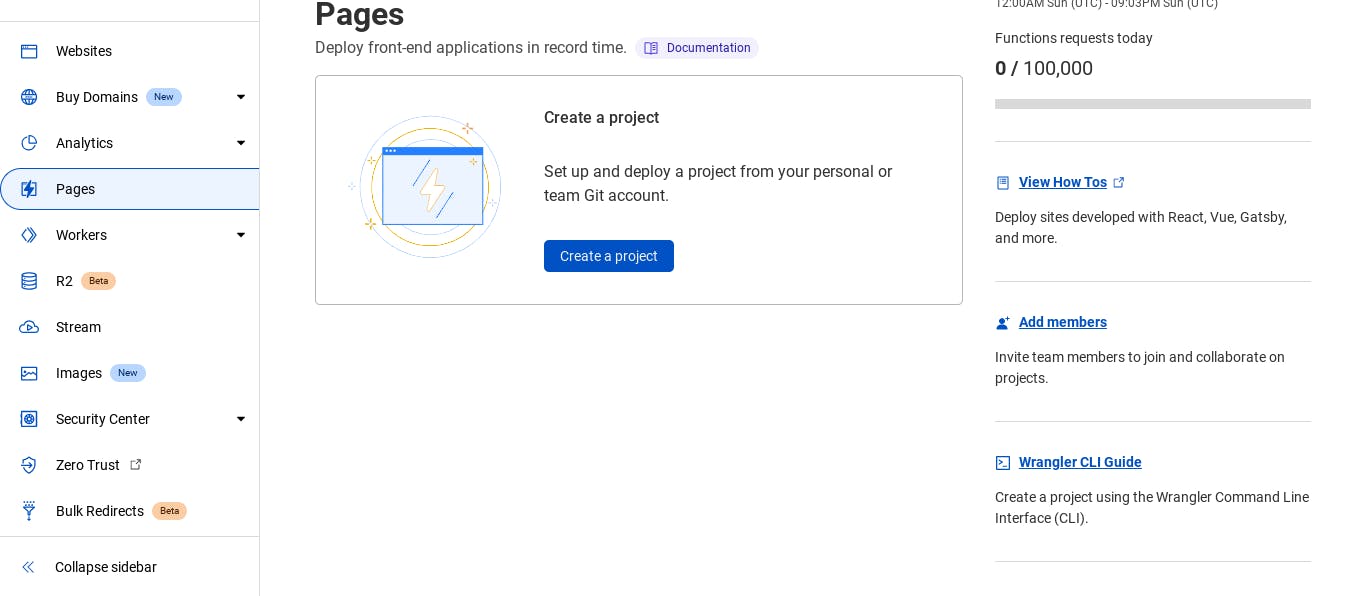
- On the "Pages" tab, click on the "Create a project" button,
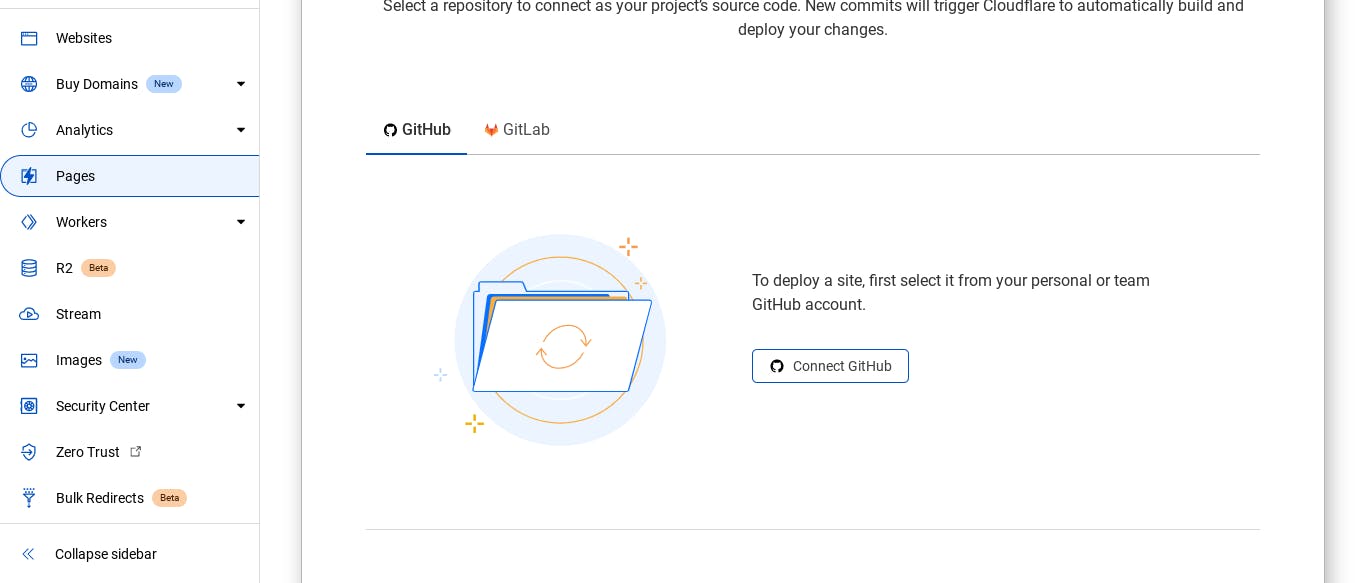
- Click on the "Connect to git" button
- Connect to Github, Github will notify you with a verification code to your email linked to your github profile.
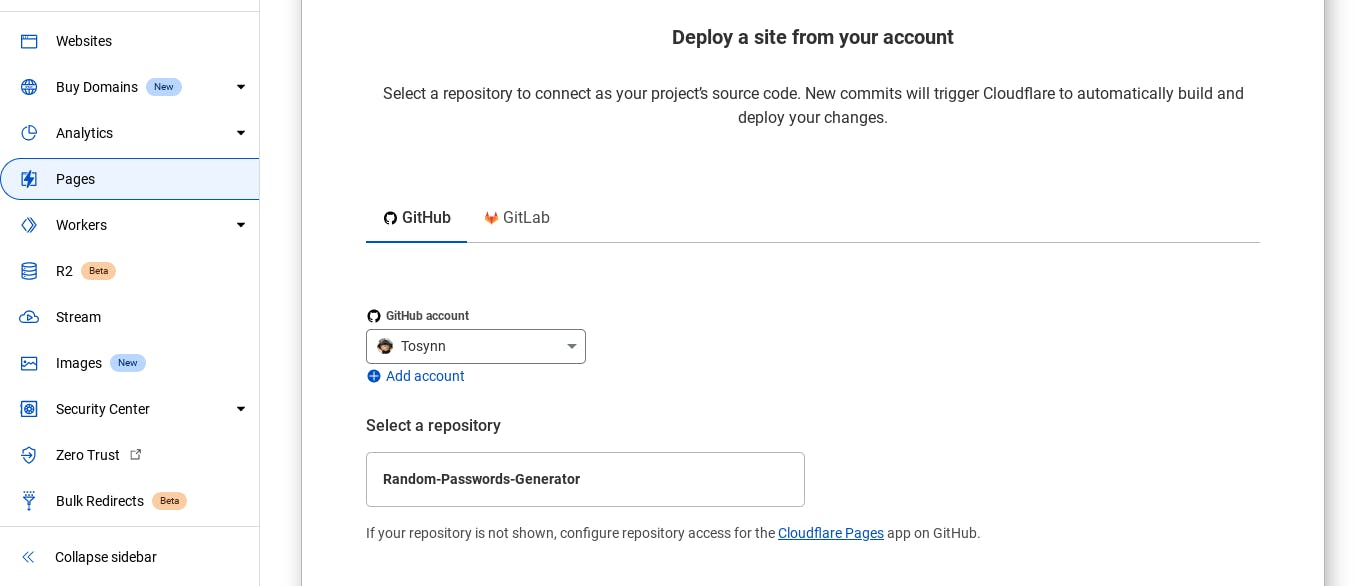
- After that, select the repository containing the project you want to deploy.
- On the set up and deployment page, in the Project name input field, write out the project name of your choice. Note that the site will be deployed as "the project name".pages.dev
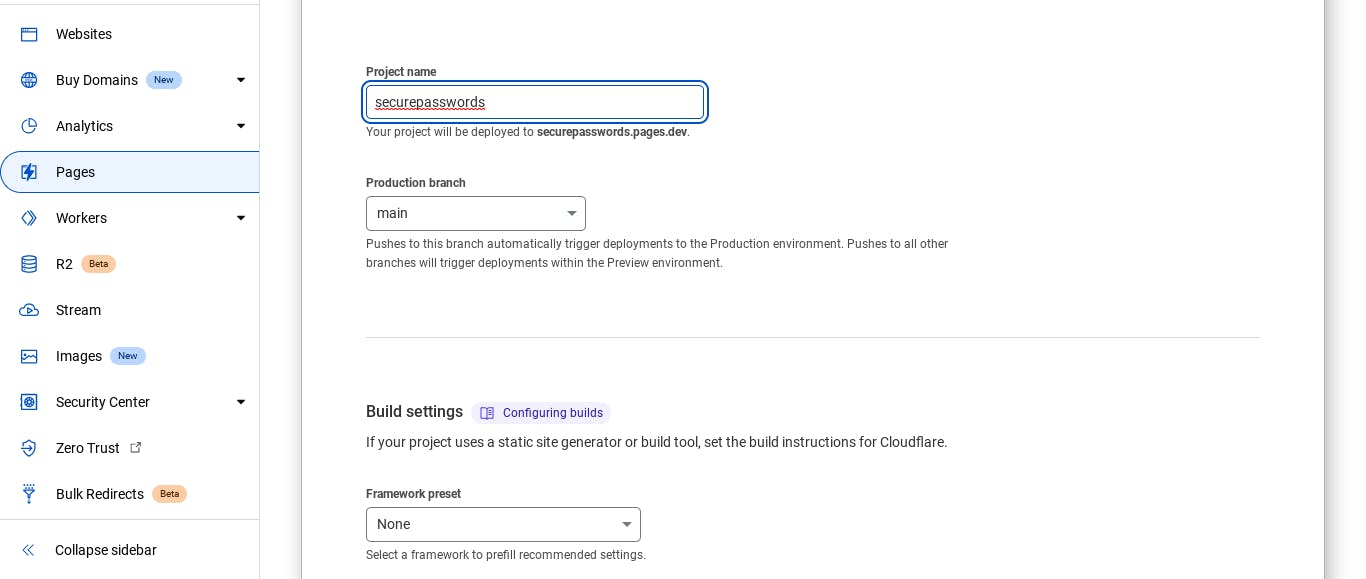
Deploy the site and your website will be live in a matter of seconds. This took me less than 3 minutes even on my first try, so rest assured the steps is straightforward and easy to follow. try it out!
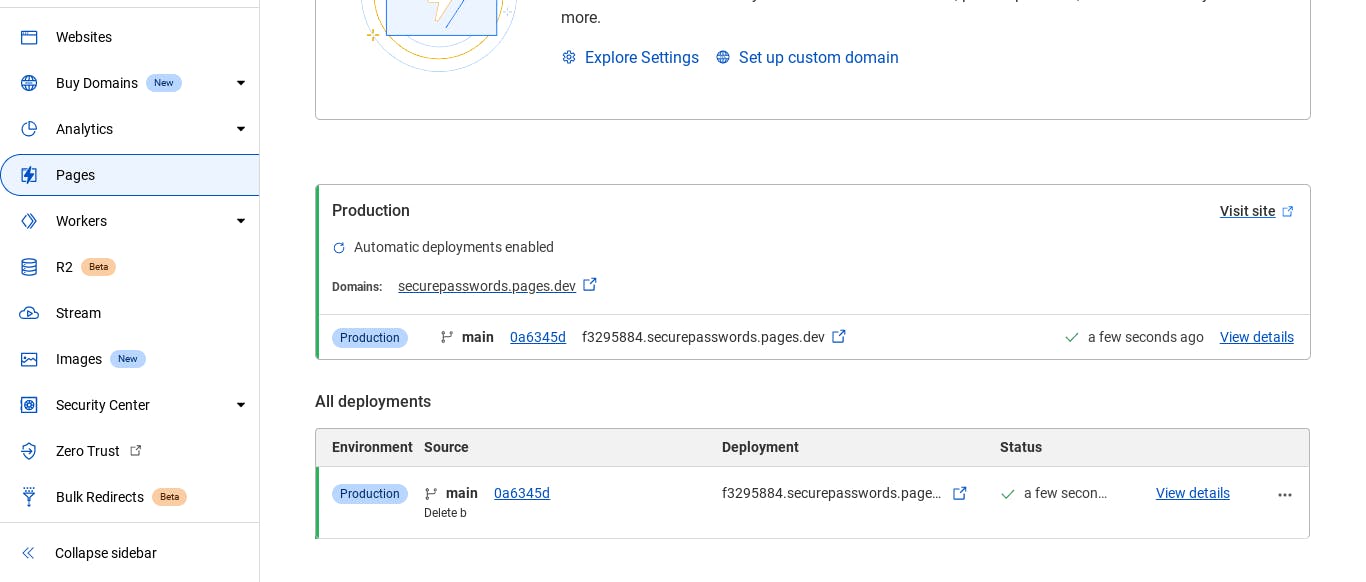
The Random Password Generator App is hosted live at: securepasswords.pages.dev
I hope this helps and you have learnt something out of this. Thanks for reading, see you next time. You can download the source code for the Random Password Generator App here on Github - github.com/Tosynn/Random-Passwords-Generator
Don't forget to star the repo and fork the repo to add new features.