

Building and Deploying a Next.js App on Vercel
Learn how to build and deploy a Next.js App on Vercel in less than 5 MINUTES.


Last week, we looked at how to build and deploy websites on some No-Code Platform such as Carrdand Webflow. Today, we will be discussing how to build and deploy a Next.js Blog on Vercel.
Compared to No-Code Tools, building with Next.js and Vercel gives you total freedom to code from scratch or modify FREE templates to your taste.
To do that we will need 2 major things, a Github account and a Vercel account.
If you do not have these two things ready, kindly create accounts before we proceed. If you have it already you can go on with the rest of the tutorial.
Why Next.js App and Why Vercel?
According to Microsoft, Next.js is a framework for creating server-rendered JavaScript apps based on React.js, Node.js, Webpack and Babel.js. It is basically a project boilerplate for React, crafted with attention to best practices, that allows you to create "universal" web apps in a simple, consistent way, with hardly any configuration.
Vercel is the best place to deploy any front-end app. Deployment is done with little to no special configuration, giving developers more time to spend on building apps.
To start with:
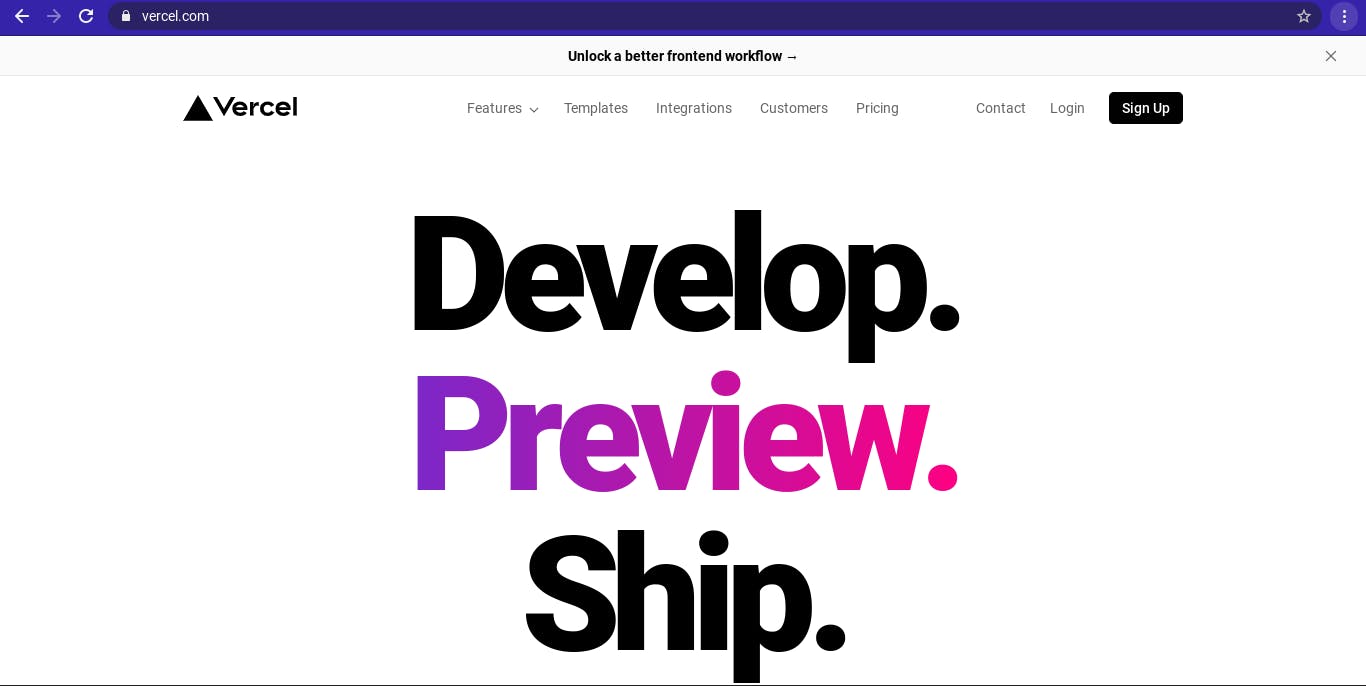
Visit Vercel
Login with the Github Option
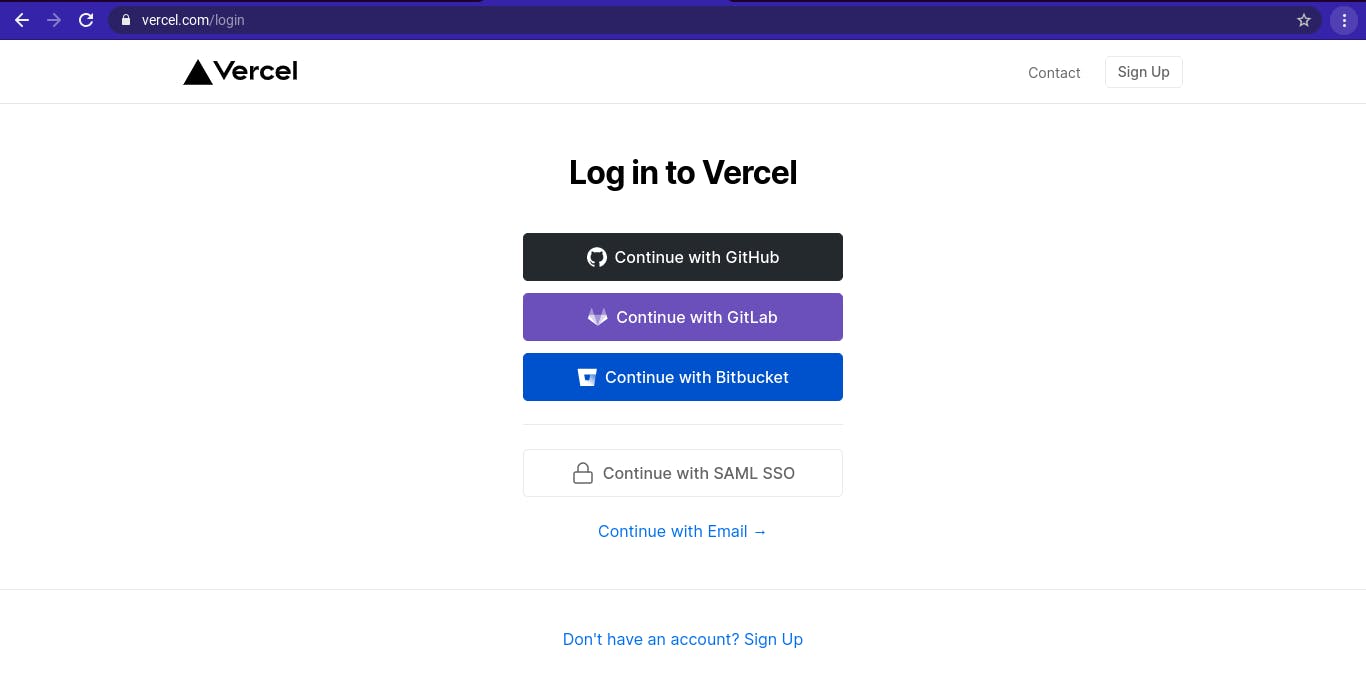
Enter your Github Login Credentials and
Verify your log in by entering the verfication code sent to your phone/email inbox.
You will now be redirected to the Vercel Dashboard, as shown below:
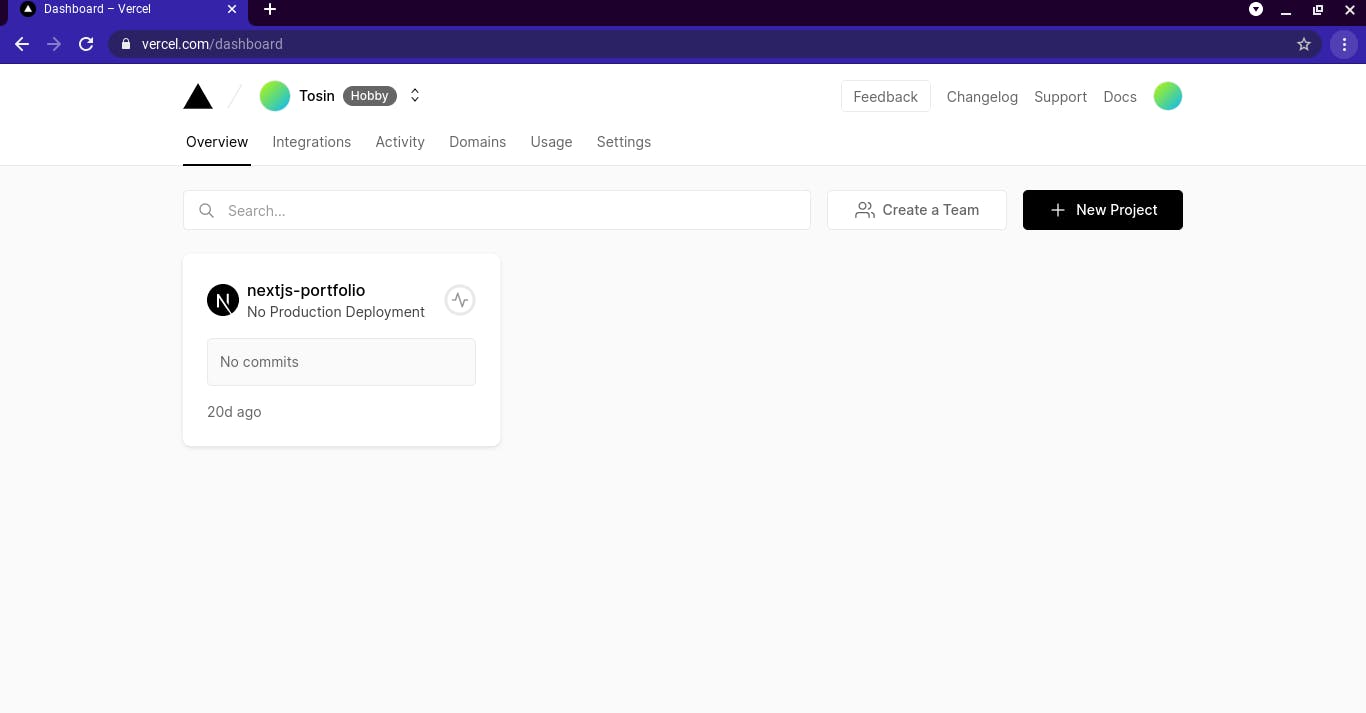
Click on the "New Project" on the top-right hand side of the dashboard,

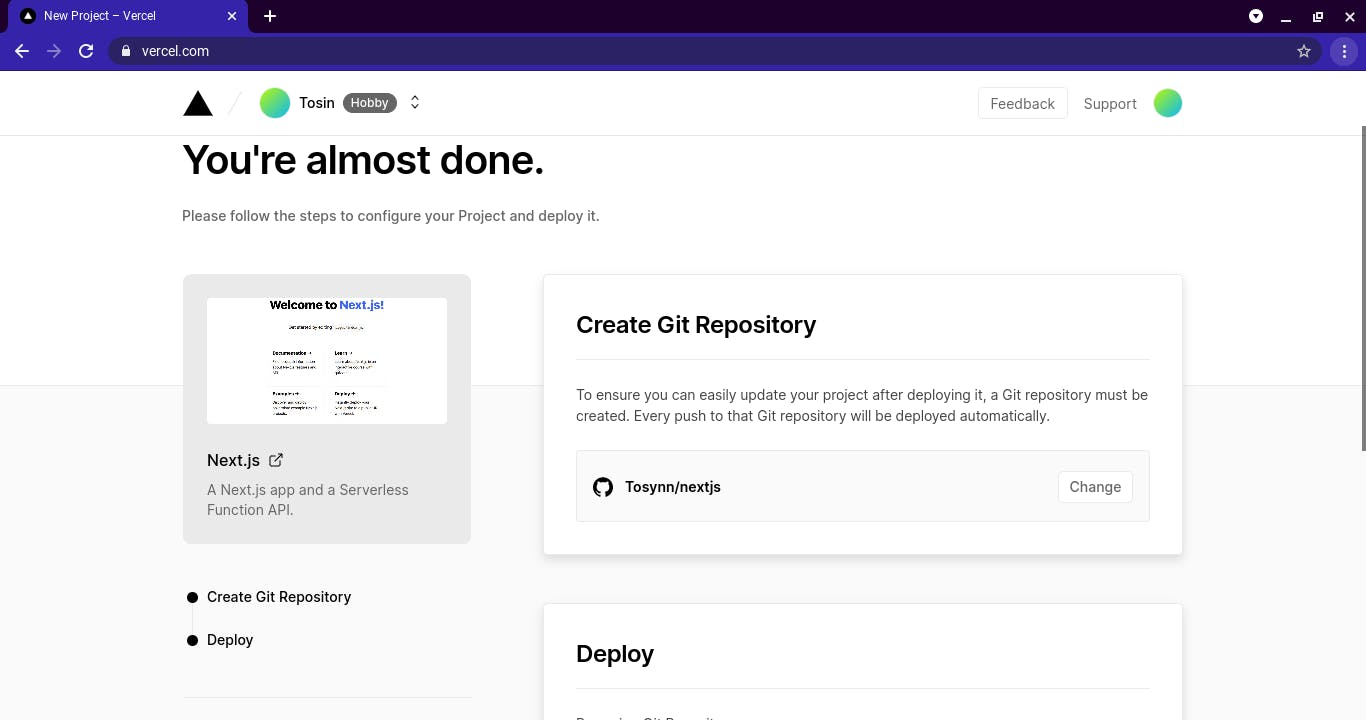
You will be redirected to this page, where you have the option of using a template or importing a project from your Github repo.

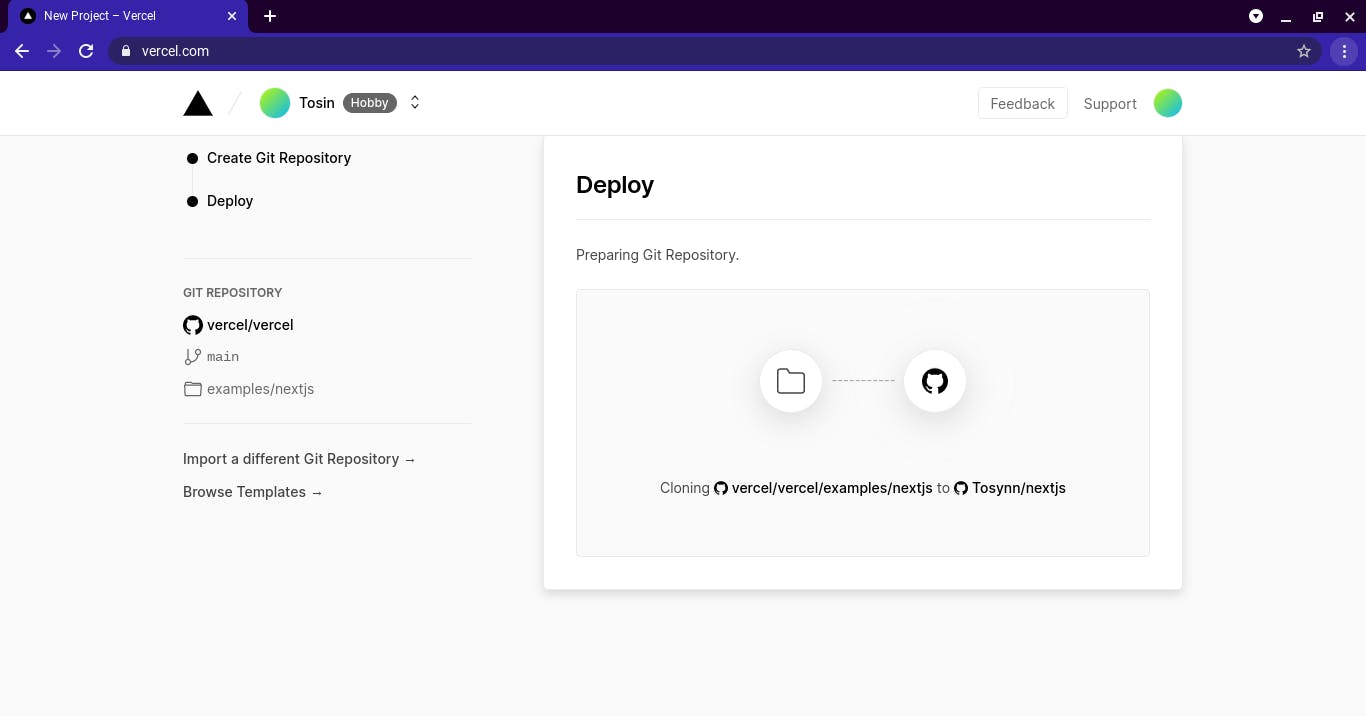
For the sake of this tutorial, we are going to use a template - A Next.js app and a Serverless Function API. Create a repository by clicking on the Github button.
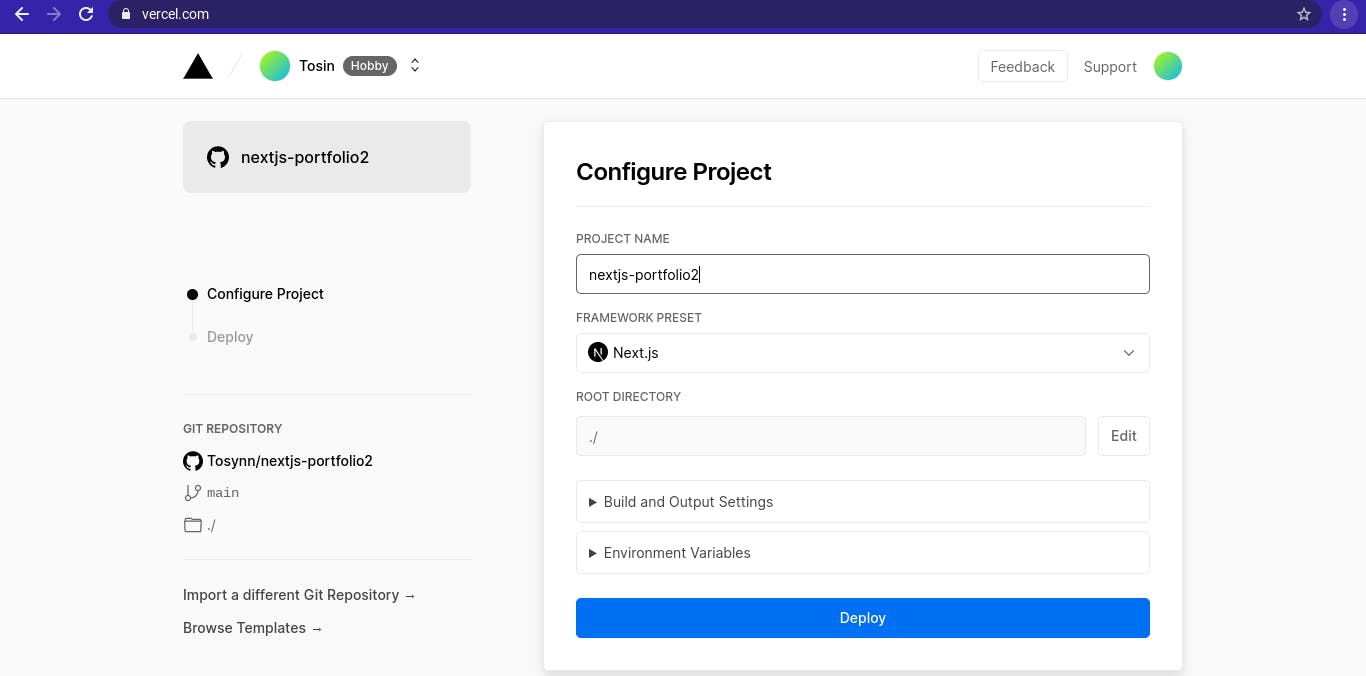
Enter your preferred name for the project and deploy.
 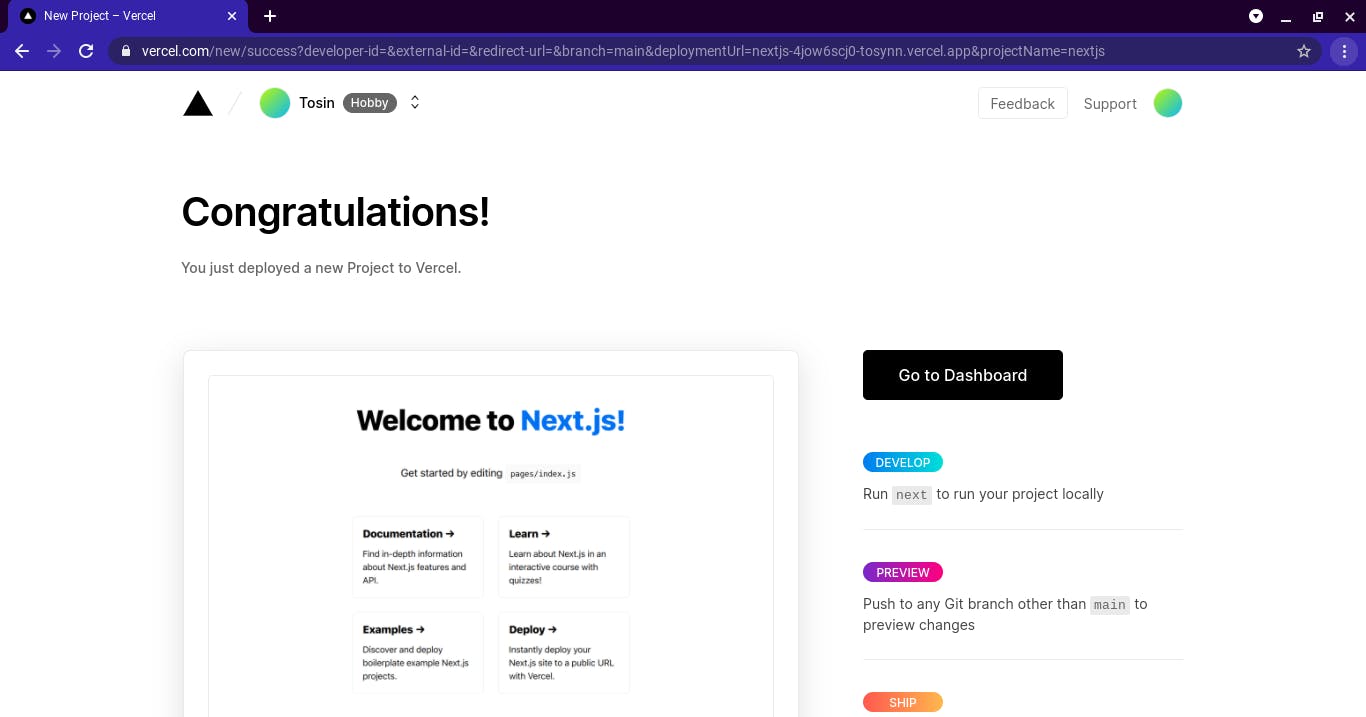
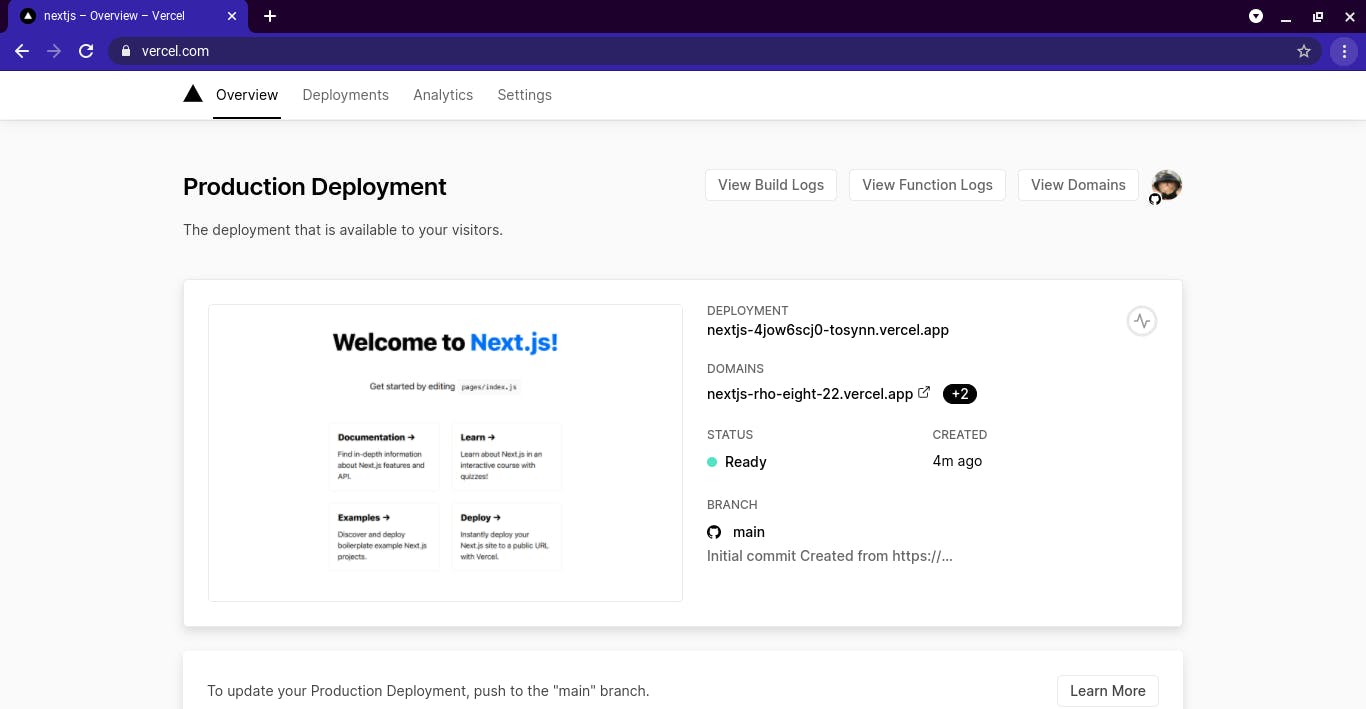
To access your blog, click on the auto-generated domain created Vercel - nextjs-rho-eight-22.vercel.app, you will be redirected to a new tab showcasing your newly deployed Next.js.

To make changes to the source code of the Next.js app, you can access the source code through the repo created on your Github profile.
The fantastic team at Vercel has made the deployment process as straightforward as possible. It takes less than 5 minutes to deploy a Next.js app on Vercel.
In summary, we have learnt how to build and deploy a Next.js app on Vercel. To do that we need a Github account and a Vercel account linked to our Github account. We then created a new project from the Vercel Dashboard, choose a Next.js template, cloned it to our Github repo and deployed the app live on an auto-generated domain by vercel at nextjs-rho-eight-22.vercel.app
Thanks for reading, I hope this article has been of great help to you. Do not hesitate to like, share and leave comments. Check my blog for more informative posts like this.